


And then Chantri (who founded Soulphoria) reached out to me a couple weeks ago to teach a creative chalkboard lettering class at her very first event: Be The Artist of Your Life. I had two reactions: total excitement and total fear/crazy nerves. I have never taught something like this before! And for 20-30 minutes? hah! Can I even do that?!

As a lot of you know or have seen on Instagram, I made a giant chalkboard in my kitchen (see my first post on it, and how i made it HERE). It's so great to have, I love the feel of fun it brings into that space, and I really really enjoy changing it up with the season or for holidays. And actually, when Chantri asked me to teach, I should say that my third reaction was: how in the heck do i teach this? i just do it! i don't know how!....but then I remembered that I was about to change up my chalkboard for February, and thought: Okay okay. Here's the perfect opportunity to slow down and kind of analyze what I'm doing. And figure out how i'm doing it so that I can better teach all of you!
As I was preparing my little lesson, I asked my sister-in-laws, my mom, and my own sisters what they would appreciate learning about chalkboard lettering. And they all asked the question: Well where do I even begin? Where do I start?!
Perfect.
P R I N C I P L E S O F D E S I G N
In college I took a lot of art classes (i was an art major), and one of the first ones was a class called Art 117: Principles of Design. And yes, it focused on the principles of design. It was SUCH a fun class and I feel I learned so much from it! So that's where I think is a good starting point. Let's brush up on some of these shall we?

Try and keep these in your mind while you start the designing process. And they can be used for so much more than just creating chalk lettering. Seriously. They can be used for making a quilt or choreographing a dance. The more you review them you'll start to remember them. When I create a piece I obviously don't say: hmm I need to add some "rythym" here....but maybe that's just because I have been doing this for years and know what looks good? hah! No. The point is that I do this a lot, and just like anything in life: the more you practice something the better you will get at it. Even if it's just a tiny bit! You are learning and you are growing through practice.
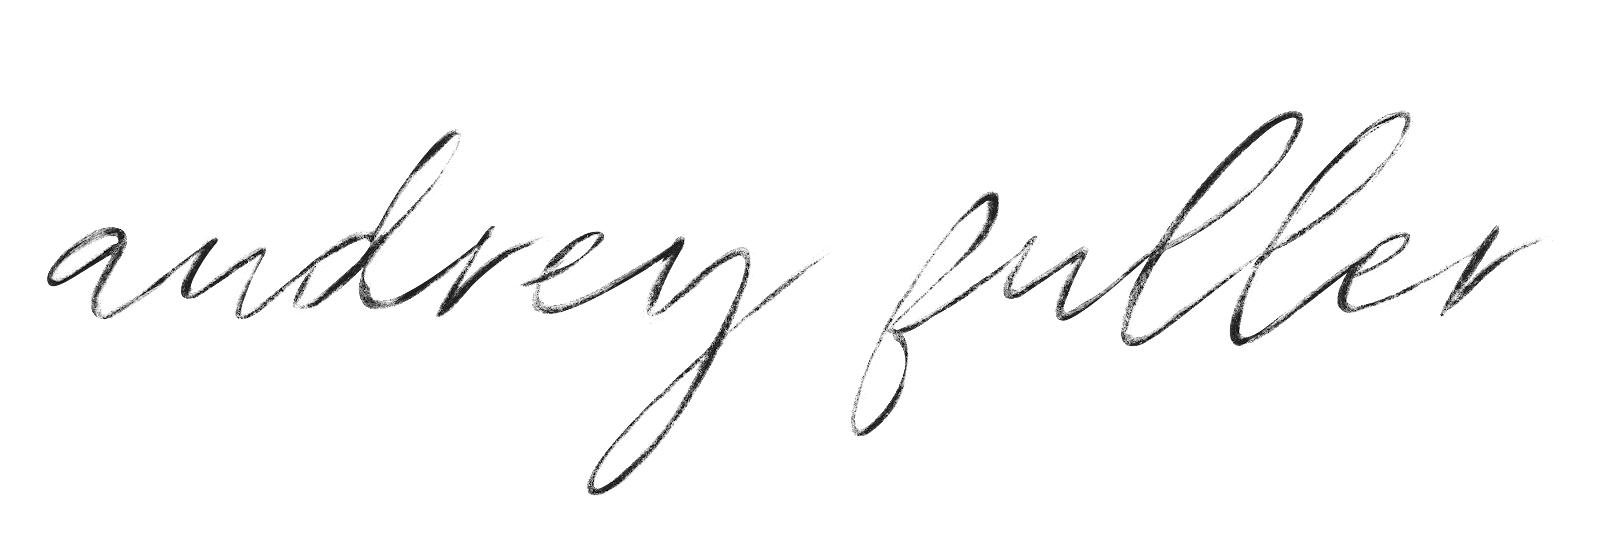
3 M A I N L E T T E R I N G S T Y L E S
Have any of you read or have this book: The Complete Book of Chalk Lettering by Valerie McKeehan (of lilyandval)? I've got to be honest, I've only had this book a week, but it's a terrific source for starting out in chalk lettering! In it, she talks about the three main lettering styles that are out there, and I want to touch on those as well. Most of you probably know what I am talking about and I know all of you have seen them. They are: Serif, Sans Serif, and Script.


The more you familiarize yourself with these lettering styles, or any others really, the better off your design will be. Below you'll find I linked a few of my favorite font sites, in case you care to go look at those. Searching "chalkboard art" or simple "chalk art lettering" on Pinterest will pull up a ton of examples for you as well.
G A T H E R I N S P I R A T I O N
This is the fun part. It's going to sound silly, but I have literally trained my eye to constantly absorb and look for inspiration all around me: on a drive with my kids, out for a camping trip with friends, sitting in church...everywhere and in the seemingly simple things (those are sometimes the best inspo).

SKETCH SKETCH SKETCH
I really can't emphasize this part enough. When I was a freshman in college I really hated to be told this. I thought it was stupid and took too much time...I literally don't know why I thought that! It's crazy talk. Now when I design for a client, I have pages of sketches for them to look over. And VERY RARELY is my first sketch picked. Like that never happens. Have any of you been scrolling through Jane and seen a freaking cute outfit you thought would look so cute on you? But then it comes and you try it on, and...it's like the ugliest thing ever on? and doesn't flatter you one bit? Sketching is kind of like that. It may seem way cute and look like a great design in my head, but when it comes out on paper it's awful! So sketch away.
Here are the sketches I came up with for the design for today:

S U P P L I E S
So now that you have a little design "background" and you've sketched out and refined your idea, let's talk about supplies.
• chalkboard
• chalk (i use a chalk pen HERE, also called a Bistro Chalk Marker)
• pencil
• eraser (i just use a paper towel, usually damp)
• ruler
• cotton swab
• pencil sharpener and
• eyeliner sharpener (only needed if i'm drawing with actual chalk)


P E N C I L T O B O A R D
I have my sketched out design ready, and my supplies. So now I take my pencil and i always start by finding and marking the center of my board. Sometimes I can eyeball where I'm placing stuff, but if I can I will always mark the lines where each word goes (or at least the general area). And then I draw out my sketch on my board.

C H A L K T O B O A R D
Keeping my hand steady, I work from top to bottom and left to right. Any other way and you'll end up with a messy hand and a messy design (i guess unless your left-handed? hmm didn't think of that!). During this final phase I also step back a lot to see how everything is looking. Sometimes working so up close to your art, you miss mistakes that seem so blindingly apparent from a distance.


• My "typography" Pinterest board
• Lily & Val
FREE FONTS
• dafont
• befonts
• kevinandamanda
• fontsquirrel
• 1001freefonts
• google fonts
• fontspace
OTHER
• CreativeMarket
• DesignCuts
• Myfonts
• Fontshop
BOOKS
• The Complete Book of Chalk Lettering by Valerie Mckeehan
• Chalk Letter Like A Pro by CJ Hughes
• Hand Lettering 101 by Paige Tate Select
• Hand Lettering Ledger: A Practical Guide to Creating Serif, Script, Illustrated, Ornate, and other totally Original Hand-Drawn Styles by Mary Kate McDevitt
WHAT I USE
• Bistro Chalk Marker, 6mm tip (typically bought off Amazon or at Walmart)
• pencil, paper towel, ruler
Download this list of resources handout HERE
See my December chalkboard HERE
See my February chalkboard HERE

No comments